Your Bag Is a Fitting Tool: Drafting Shoulders for the Daily Haul

Photo by Photo by Ansis Kančs on Unsplash on Unsplash
There is a moment on the walk to the bus stop, or halfway through the school run, when you feel the bag win. The strap has sawed its way across your shoulder, your neckline is halfway to your ear, and the shoulder seam of your handmade coat is making a slow, undignified slide towards your armpit. You drafted that coat for your measurements. You did not draft it for your bag.
That is the gap. We treat the cross-body strap, the loaded tote and the work satchel as accessories — things that happen after the pattern is finished. But a bag is a daily load-bearing object. It has a line, a weight and a rub pattern all of its own. If you want a shoulder that survives real life, the bag belongs in the fitting conversation from the start.
The Carry Line Is a Measurement Too
Most of us measure bust, waist, hip, maybe shoulder slope. The carry line — the diagonal path a strap takes from one shoulder, across the chest or back, to the opposite hip — is just as personal, and far less static. It changes with your coat, your layers, your posture and whether you are carrying a flask, a laptop or a week of PE kit.
Start by noticing which shoulder actually takes the load. For many people it is the non-dominant side, but not always. If you swap the bag from day to day, plan for symmetrical reinforcement rather than a single bag-side fix. Either way, the point is to stop treating the shoulder as a fixed point on the body and start treating it as a contact zone.
Where the Damage Happens First
A loaded cross-body bag does three quiet things to a garment. First, it compresses the shoulder, which makes the seam migrate and the armhole gape. Second, it abrades the cloth along the strap edge — that fuzzy pilling on a wool coat, the shine on a linen tote, the small hole that appears in autumn. Third, it pulls the neckline off-centre, because the weight is travelling diagonally and the bodice is trying to stay level.
Totes bring a different problem: one shoulder carries a load that hangs straight down, so the seam takes the strain in one spot. Satchels with a laptop are worse — a hard rectangle swinging against the hip, with a strap that keeps adjusting itself. None of this is a reason to stop carrying a bag. It is a reason to draft the shoulder with a little more intent.
Drafting a Shoulder With Carry Allowance
Begin with slope. If your bag side sits lower in real life, do not simply drop the shoulder seam and hope. A slightly closer shoulder seam, supported with stay tape, often behaves better than a loose one that collapses under weight. For square or sloping shoulders, a small shaped shoulder pad can restore the line without adding bulk. Make it in a firm, thin wadding and taper the ends so it does not show through the sleeve.
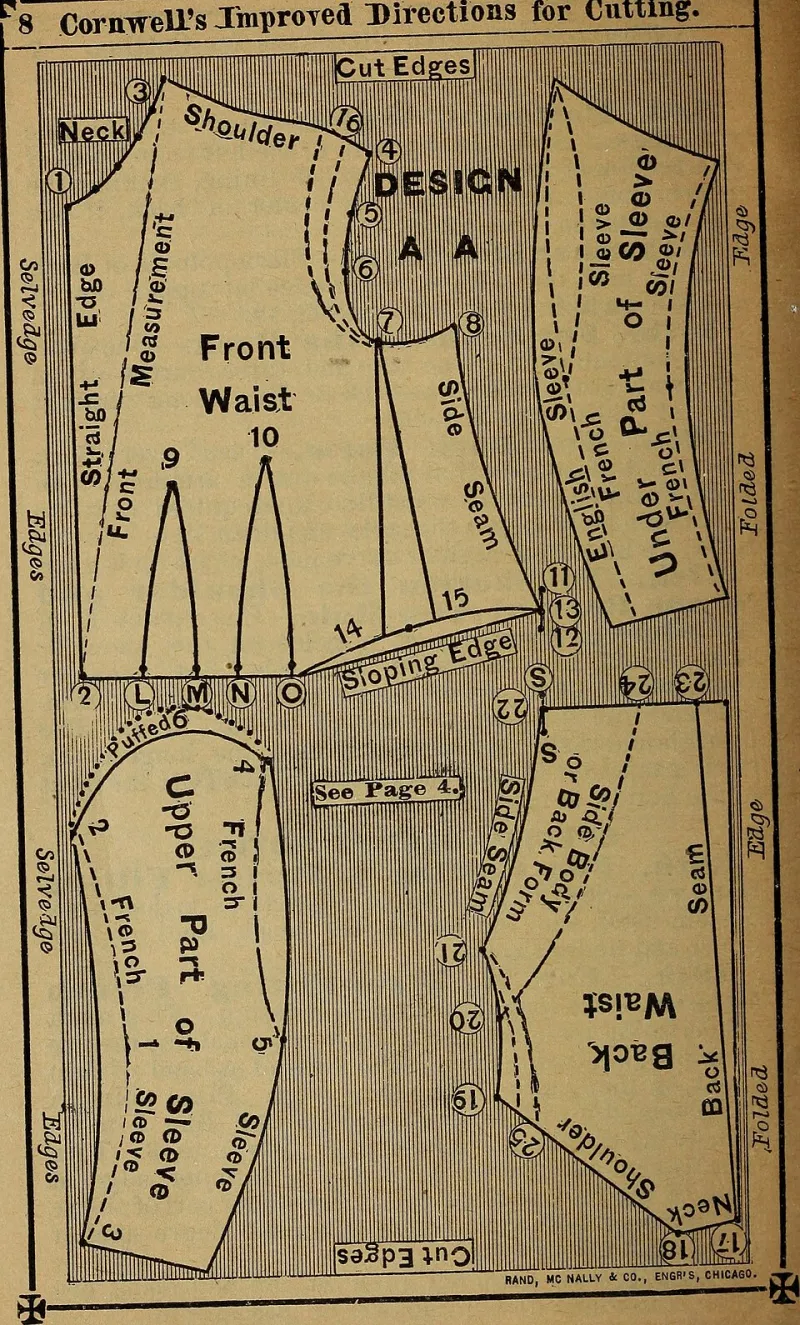
Next, add a strap shield. This is a small pattern piece — roughly a soft crescent, 12 to 15 cm long and 4 to 6 cm wide, with curved ends. Cut it in a sturdy fabric such as cotton canvas, drill or a mid-weight wool, interface it lightly, and either sew it into the shoulder seam as a tab or make it removable with a snap. It sits between the bag strap and the garment and takes the rub instead of your cloth. On a coat, a shield in a matching colour looks deliberate. On a summer dress, a removable one in a contrast print looks like a choice rather than a repair.
Then add a hidden stabiliser. A strip of twill tape or firm stay tape sewn into the shoulder seam is the simplest version. A more robust version is an internal load strap: a length of tape running from the shoulder point down to the side seam or waist, anchored at both ends. The bag still pulls, but the pull is distributed into the body of the garment rather than into one seam. This is especially useful on a coat or a heavy tote bag of a garment, where the shoulder seam is doing more work than it was designed for.
Three Pattern Tweaks That Earn Their Keep
- Adjust the bag-side slope by a few millimetres and add a shaped shoulder pad. Small changes are easier to live with than a full redraft.
- Sew a stay tape into the shoulder seam and armhole before you attach the sleeve. This is a five-minute job that prevents a season of sagging.
- Anchor the neckline. A small thread chain or lingerie strap from the facing to the shoulder seam keeps a wide or soft neckline from being dragged sideways. On a jersey bodice, a strip of clear elastic in the neckline seam does the same job.
The Full Errand Day Wear-Test
Do not test a garment by standing in front of a mirror for two minutes. Test it with the bag you actually carry, loaded as it normally is. Put on the layers you would wear on a drizzly November morning. Then run a circuit: walk for ten minutes, sit on a low chair, reach up to a high shelf, take your coat on and off, bend to pick something up from the floor, and stand still while you wait for a bus that is late.
Mark the shoulder seam position with a safety pin before you start. After the circuit, check whether the pin has moved, whether the neckline is still centred, and where the strap has been rubbing. If you are testing a toile, draw the carry line on it with tailor's chalk and photograph the shoulder from the front and back. The photos will tell you more than the mirror ever will.
When the Test Says No
If the seam has migrated, add stay tape or a load strap. If the neckline has drifted, add an anchor. If the cloth is already showing wear, add a shield before the hole appears. None of these fixes need to be invisible — a visible strap guard in a contrast fabric can be part of the design. What matters is that the shoulder is drafted for the life it is actually going to have.
The Point of the Exercise
Bespoke is not just about matching a body. It is about matching a day. The bag you carry is part of that day, and the shoulder that carries the bag deserves a pattern that knows it. Draft for the haul, and the rest of the garment will hold its shape far longer.