The Five Fastenings That Decide If You'll Actually Wear It
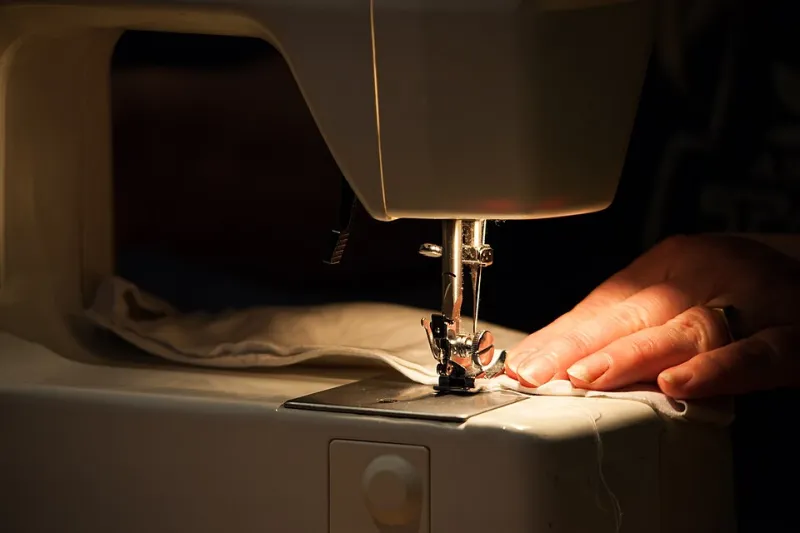
Photo: Tadeáš Bednarz, CC BY-SA 4.0, via Wikimedia Commons
Closures are the quiet deciders of a handmade wardrobe. You can nail the shoulders, match the print, finish the hem by hand, and still leave a garment hanging in the cupboard because the fastening feels fiddly, digs in, or refuses to sit flat. At Bespoke Patterns, we treat closure choice as part of fitting, not a final flourish. Here are five common fastenings, the fitting checks that matter, and the small drafting adjustments that keep them comfortable.
1. Button plackets
A button placket looks simple, but it is doing two jobs: it opens wide enough to get the garment on, and it closes without straining across the bust, tummy or hips. In a bespoke pattern, the placket should be drafted with the button stand wide enough to support the buttons you actually want to use — not the smallest ones you can find.
Fitting check: Button the garment fully, then sit down, reach forward and take a deep breath. Watch the spaces between buttons. If the fabric pulls open into a smile, you need either more ease through that area or a closer button spacing. A horizontal buttonhole in a vertical placket can also give a little more breathing room on a close-fitting shirt.
Ease and reinforcement: Add a strip of lightweight interfacing behind the button stand and the buttonhole stand. If the garment is fitted, draft a little extra ease at the fullest point rather than relying on the buttons to hold it shut. A stay tape along the placket edge stops it stretching out of shape over time.
UK sourcing note: Look for corozo or horn buttons from British haberdashers such as Ray Stitch, Sew Over It or MacCulloch & Wallis. Match button diameter to buttonhole width — a 15mm button needs roughly an 18mm buttonhole for a firm hold without a fight.
2. Invisible zips
An invisible zip is brilliant when it disappears into a seam, and deeply annoying when it waves at you from the side seam or puckers at the base. The fit issue is usually not the zip itself but the seam allowance and stabilisation around it.
Fitting check: Zip the garment closed and sit, twist and raise your arms. The zip should lie flat and follow the curve of your body without pulling. If it stands away at the waist or hip, the seam may need reshaping, or the zip may need to start lower. Check the base of the zip too — that is where poor stabilisation shows up first.
Ease and reinforcement: Interface the zip opening before you sew. A strip of fusible interfacing or a narrow strip of selvedge stabilises the seam and stops the zip rippling. If you are drafting your own pattern, leave enough seam allowance to sew the zip comfortably — 1.5cm is a sensible starting point — and consider shortening the zip rather than forcing a long one into a curved seam.
UK sourcing note: Good-quality invisible zips are worth the extra pound. YKK invisible zips are widely available from Sew Essential, Minerva and local sewing shops. Buy a zip slightly longer than you need and shorten it from the top; it is far easier than wishing you had bought a longer one.
3. Snap tape
Snap tape — sometimes called popper tape — is the fastening of choice for childrenswear, dungarees, loose cover-ups and anything you want to open and close without looking. It is quick, neat and satisfying, but it can pucker a lightweight fabric if you treat it like a normal seam.
Fitting check: Open and close the tape several times while the garment is on. The two sides should meet without shifting. If the fabric ripples between the snaps, the tape is probably too stiff for the cloth, or it needs a lighter interfacing. Check that the snaps do not sit on a bony point or dig in when you sit down.
Ease and reinforcement: Interface both sides of the opening with a lightweight fusible. Stitch the tape down on both long edges, not just the ends. If you are drafting a pattern for a garment that will be opened often, add a facing or a small placket behind the tape so the snaps do not rub against the skin.
UK sourcing note: Prym snap tape is a reliable option and turns up in most good independent sewing shops. For a softer finish on lightweight fabrics, look for cotton snap tape rather than polyester. Fred Aldous and Guthrie & Ghani are good places to start if your local shop does not stock it.
4. Ties
Ties are the most forgiving closure in the sewing room — and the most likely to slip, sag or become a nuisance if the anchor points are not drafted properly. A tie waist can make a dress feel adjustable and personal, but only if the ties sit where you actually want them.
Fitting check: Tie the garment at the intended point and move around. Sit, stand, reach and bend. The tie should stay put without needing constant retying. If it slides up or down, the anchor points are in the wrong place or the ties need more friction — a wider ribbon or a cotton tape will grip better than a slippery satin ribbon.
Ease and reinforcement: Mark the tie position on your toile and transfer it to the pattern. Add a small reinforced buttonhole or thread loop at the anchor point so the tie has something to hold onto. If the tie is taking the weight of a heavy skirt or wrap, interface the area behind the anchor point.
UK sourcing note: Cotton herringbone tape, twill tape and narrow grosgrain ribbon are all available from V V Rouleaux, Cloth House and most local haberdasheries. Buy a little more than you think you need — ties have a habit of ending up shorter than planned once they are turned through.
5. Hook-and-eye closures
Hook-and-eye closures are the unsung heroes of waistbands, bodices and anything that needs a discreet, low-profile fastening. They are not glamorous, but a badly placed hook can turn a beautiful garment into a scratchy, fiddly thing you avoid wearing.
Fitting check: Close the hook and eye, then breathe out and sit down. The closure should hold without strain, and the hook should not press into your skin. If the waistband gapes above the closure, you need a higher hook or a small strip of interfacing to give the area some body. If the hook pulls open, the two sides are under too much tension — add a button or a second hook for security.
Ease and reinforcement: Use a proper hook-and-eye set rather than a single tiny hook on a heavy waistband. Interface the closure area, and consider a small backing button behind a hook on a fitted bodice. For skirts and trousers, a hook-and-bar at the top of the zip plus a button above it is a quietly robust combination.
UK sourcing note: Look for nickel-free hooks and eyes if you have sensitive skin. Independent shops such as Ray Stitch and Sew Over It stock decent-quality closures, and many local markets still have a haberdashery stall with a box of hooks in every size. Buy a few spare sets — they are tiny, easy to lose and deeply annoying to improvise.
The closure is a fitting decision
None of these fastenings is inherently better than the others. The question is whether the closure suits the fabric, the fit and the way you actually get dressed. A beautiful silk dress with an invisible zip that snags every time is less useful than a simple cotton wrap with ties that you can throw on in the morning.
Before you cut your next bespoke pattern, take five minutes to test the closure on your toile. Button it, zip it, snap it, tie it, hook it. Sit down. Reach for a cup of tea. If the fastening passes that test, you are much more likely to wear the finished garment — and that is the whole point.