Draft It to Be Mended: Designing Bespoke Patterns for a Longer Life

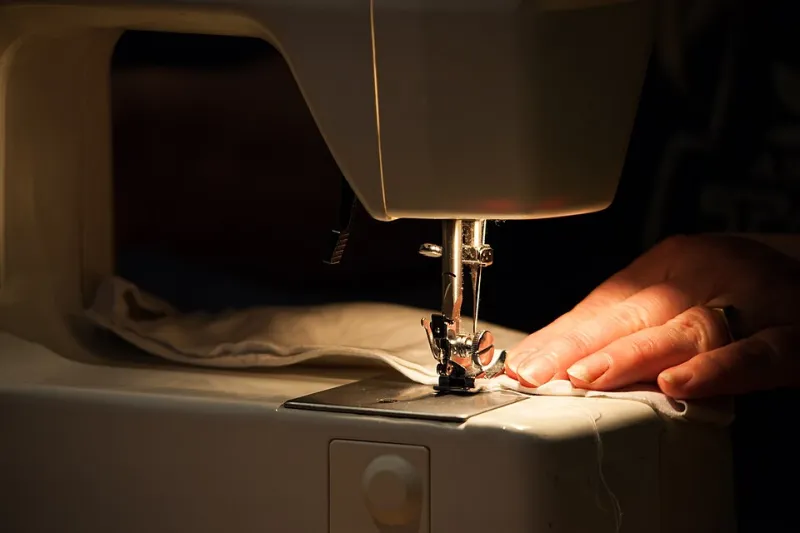
Photo: visible mending patch on handmade clothing with sewing thread and needle, via pad.mymovies.it
There is a quiet assumption buried in a lot of sewing advice: that a garment is finished when it is finished. You cut the pattern, sew the seams, press the hem, and then the story is supposed to end. But bespoke clothing does not work like that. A made-to-fit garment meets a real body, a real washing machine and a real life. It will wear at the seat, fray at the cuff, lose a button, stain a sleeve and change shape as you do. If the pattern was only drafted for the first wear, the garment has nowhere to go after the tenth.
We think a genuinely bespoke pattern should be drafted for repair from the start. Not because we expect everything to fall apart, but because making room for mending is one of the most practical ways to slow down a wardrobe. In the UK, where repair cafés, visible mending groups and charity-shop rails are part of the sewing landscape, this feels less like a trend and more like common sense.
The repair-ready mindset
A repair-ready pattern is not a special category of pattern. It is a set of small drafting decisions that make future fixes easier. It means asking, before you cut: if this seam fails, can I get to it? If this collar frays, can I replace it? If this knee wears through, can I patch it without unpicking the whole leg?
That is a different way of thinking about fit. Instead of treating the pattern as a one-time map of a body, we treat it as a living document. The first make is version one. The repairs are part of the pattern's future, and the drafting should leave the door open.
Seam allowances that leave options
A narrow seam allowance looks neat on the inside, but it is a dead end. If you need to let out a side seam after a change in shape, or reinforce a seam that has started to fray, 1cm is not much to work with.
For bespoke patterns, we like to draft 1.5cm seam allowances on most seams and 2cm on side seams and centre-back seams. That extra bit of cloth is a repair fund. It lets you press a seam flat and re-stitch it, add a strengthening strip, or let out a garment that has become a little tight. On childrenswear and anything designed to be altered, 2cm throughout is not excessive.
There is a trade-off: wider seam allowances can show through on light fabrics, and they need careful grading and pressing. But on wool, linen, denim and most medium-weight cottons — the fabrics that tend to have long lives — generous allowances are a sensible investment.
Linings you can actually reach
A fully bagged lining looks beautiful. It also hides a multitude of future problems. If the underarm seam of a lined jacket fails, or the lining itself wears through at the elbow, you want to be able to get in there without unpicking the whole hem.
Draft a lining that is accessible. A small opening in the side seam or the centre-back seam, finished with a hook and thread loop or a few hand stitches, gives you a door into the inside of the garment. For coats and jackets, a lining pleat at the centre back is not just for movement; it is also a way to add or remove ease later.
Use a lining fabric that is strong enough to be repaired. A lightweight polyester lining may feel slippery and nice against the skin, but it can be difficult to darn invisibly. A cotton or viscose lining takes a patch more kindly, and it behaves better in the wash.
Collars, cuffs and removable parts
Collars and cuffs are the parts of a garment that touch the skin, collect sweat and wear out first. On a repair-ready pattern, they should be replaceable without dismantling the whole garment.
That does not mean every collar needs to be detachable. It means drafting a collar with a seam allowance that allows you to unpick it cleanly and set in a new one. It means choosing a two-piece collar construction rather than a single fused piece where possible. It means leaving enough seam allowance at the cuff to turn the cuff or replace it entirely.
For shirts and shirt-dresses, a removable collar — attached with small buttons or snap tape — is a lovely practical option. It lets you swap a worn collar for a fresh one, or change the look without making a new garment. It is also a useful way to use up a small piece of special fabric.
Patch-friendly panels
Some garments wear out in predictable places: knees, seats, elbows, pockets and hems. A repair-ready pattern can plan for that by keeping those areas simple and accessible.
Avoid placing a decorative seam or a complicated pocket right where a patch will need to go. If you know a knee will wear, draft a slightly wider leg or a panel that can be replaced. On trousers and jeans, a two-piece back leg or a knee panel with a generous seam allowance makes a future patch much easier to insert.
Patch-friendly drafting is also about colour and texture. If you are making a garment you intend to keep for years, choose a fabric that will look good with a visible mend. A plain linen, a dark denim or a wool tweed takes a patch beautifully. A busy print can hide a repair, but it can also make a matching patch impossible. There is no right answer, only a choice worth making consciously.
A slower wardrobe, drafted in
The UK has a strong tradition of making do and mending, from darning socks to patching workwear. That tradition is not about scarcity for its own sake. It is about valuing the things we already have enough to keep them going.
When you draft a bespoke pattern with repair in mind, you are making a small commitment to the future. You are saying that this garment is not disposable. You are giving yourself permission to mend it badly at first, to learn from the repair, and to keep wearing it anyway.
That is a different kind of fit. It is not just about the body in front of the mirror today. It is about the body that will wear the garment next winter, and the one that will wear it after the first patch. A made-to-fit garment should be made to be mended, because the tenth wear is where the real wardrobe begins.