Let the Cloth Choose: Drafting a Bespoke Pattern From a Precious Remnant
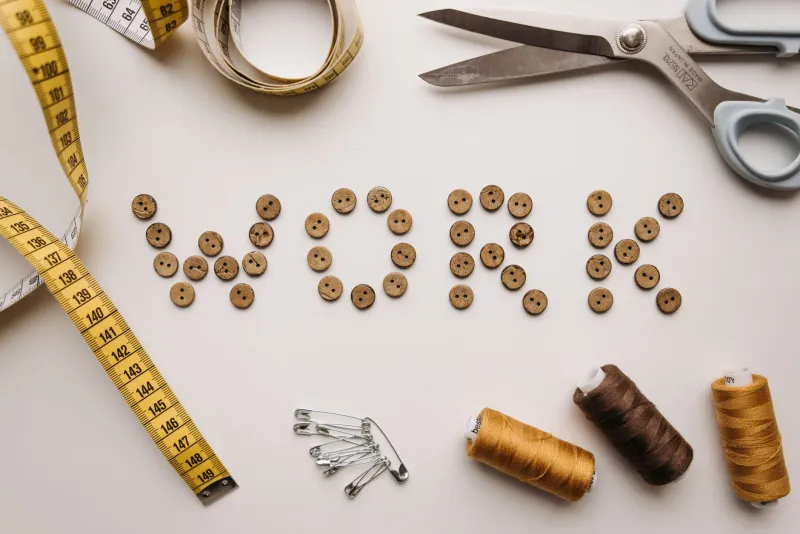
There is a particular kind of fabric shop in most UK sewing rooms: the remnant shelf. It is stacked with half-metres bought on holiday, inherited lengths from a relative’s stash, charity-shop finds with a beautiful print and just enough yardage to make you nervous. Most commercial patterns assume you will buy two or three metres of something sensible. Your remnant did not get that memo.
This is not a problem to solve by forcing a favourite cloth into a pattern that clearly wants more. It is an invitation to draft backwards. Instead of choosing a design and then finding fabric, you start with the cloth you cannot replace and ask what it wants to become.
Measure the cloth honestly, not hopefully
Before you sketch anything, treat your remnant like a pattern piece. Lay it flat, smooth out the wrinkles and measure the usable area rather than the total length. Selvedges, a faded fold line, a small hole or a directional print all take up space. If the fabric has a nap or a one-way design, every piece will need to run the same way, which changes the maths completely.
Draw a simple rectangle on paper to represent the cloth. Mark the grainline and any flaws. Then note the width: 115cm and 150cm fabrics behave very differently when you are piecing a bodice. Keep this fabric map beside you as you draft. It is far easier to adjust a paper pattern than to discover halfway through cutting that the last sleeve has nowhere to live.
Let the remnant suggest the garment
A precious metre does not have to become a whole dress. Sometimes it wants to be a yoke, a collar, a pair of cuffs or a contrasting panel on a plain linen top. Ask yourself where you want the fabric to be seen. If the print is bold, a simple shape lets it speak. If the cloth is soft and drapey, a bias-cut camisole or a loose shell top may use it better than a structured jacket.
Also think about your real wardrobe. A remnant that becomes a special-occasion top you wear twice is not a success just because it used every scrap. A remnant that becomes the layer you reach for on a cool Saturday is. Bespoke sewing is not only about fit; it is about making clothes that earn their place.
Panel lines buy you room to manoeuvre
One of the simplest ways to fit a pattern to a small length of cloth is to add seams. A centre-back seam, princess seams or a yoke each split a large pattern piece into smaller ones that can be nested more efficiently. They also give you opportunities to shape the garment around the body rather than relying on darts alone.
Piecing is the next step. You can join two narrower pieces to make one wider panel, ideally along a seam that looks intentional. A pieced back yoke, a contrast side panel or a seam running down the centre front can turn a limitation into a design feature. Just remember to add seam allowance to both pieces and to press the join flat before treating it as one piece.
Bias cutting is another useful trick. Bias pieces can sometimes be squeezed from odd-shaped offcuts, and they drape beautifully. The trade-off is stretch, so stay-tape necklines and armholes where needed. Bias also eats fabric quickly, so test the layout on your fabric map before committing.
Draft the layout before you draft the pattern
Working backwards does not mean guessing. Cut rough paper shapes or use half-scale pattern pieces to arrange on your fabric map. Move them around. Try a shorter hem, a split side seam or a grown-on sleeve if the width allows. If you are short by a few centimetres, consider a contrast hem band or a facing cut from another remnant.
Once the layout works, adjust the pattern pieces properly. Add seam allowances, mark grainlines and note any pieces that will be cut on the bias. Then make a toile in a similar-weight cloth. An old bedsheet is fine for this. The toile will tell you whether the pieced panel pulls, whether the bias section hangs as you hoped and whether the garment still feels like the one you imagined.
Design details that make small yardage go further
There are several reliable ways to stretch a remnant without making the finished piece look patched together by accident:
- Use a contrast yoke, collar stand or cuffs from a second fabric.
- Cut pocket bags and facings from lining or a plain offcut.
- Add a centre-back seam to create two narrower panels.
- Choose a shorter, boxier shape rather than a full skirt.
- Use bias binding made from the remnant itself for a clean finish.
- Piece the hem band or side panels in a way that looks deliberate.
These choices are not compromises. They are the kind of details that make a handmade garment feel personal. A top with a pieced back yoke and mismatched buttons is more interesting than a plain one that used three metres of anonymous cloth.
Keep the garment wearable
A remnant-led pattern still has to work in real life. Think about how you will wear it: over a long-sleeved tee, under a coat, with trousers you already own. Check that the armholes allow movement and that the neckline sits where you want it. If the fabric is precious, make the fit forgiving enough that you will actually reach for it.
This is where a bespoke pattern earns its keep. You are not squeezing cloth into a standard size; you are drafting for the fabric you have and the body you live in. The constraints are part of the brief, not an afterthought.
Not every remnant needs to become a garment
Finally, give yourself permission to stop. Some lengths are better as a patching stash, a pocket lining, a cushion back or a contrast detail on a future make. Forcing a beautiful half-metre into a garment that does not suit it is not sustainable sewing, even if it uses every last thread. The most maker-friendly approach is the one that keeps the cloth in circulation and the pleasure in the process.
So next time you pull out a remnant, do not ask what pattern it fits. Ask what it could become. Measure it, map it, sketch it and let the cloth have a say. The result may be smaller than a standard pattern expected, but it will be entirely yours.