Drafting on Borrowed Surfaces: A Small-Space Guide to Bespoke Patterns
There's a persistent myth in sewing circles that proper pattern drafting requires a dedicated studio, a full-size cutting table and a dress form that never gets wheeled into the corner. In reality, most of us are working on borrowed surfaces. The kitchen table gets cleared for dinner. The living room floor becomes a cutting mat after the kids are in bed. The ironing board is also the fitting area. And you know what? You can still make beautiful, bespoke clothes in that setup. It just takes a bit of strategic thinking.
The shoebox block: patterns that fold away
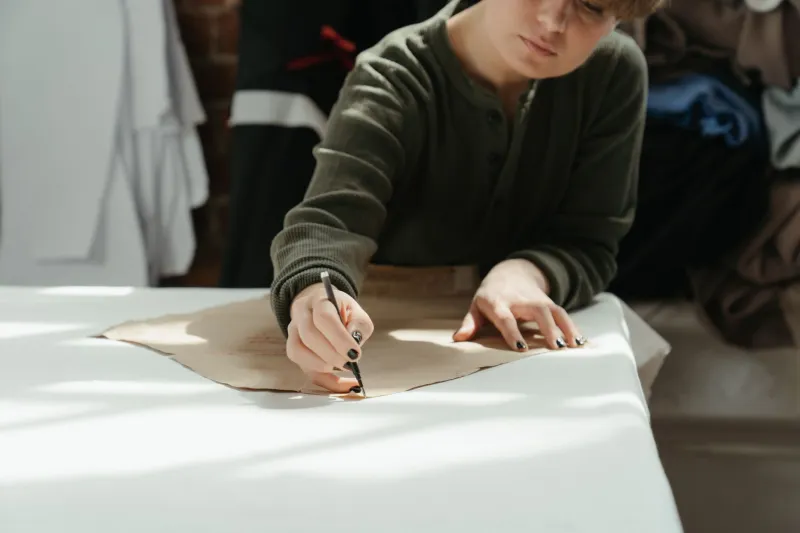
Your master blocks don't need to live on a wall or in a plan chest. Trace them onto sturdy card—cereal boxes are surprisingly good, as are the backs of old sketchbooks—and cut them out. But instead of storing them flat, consider folding or rolling them into a shoebox. Better still, trace your blocks onto a medium-weight fusible interfacing. It's see-through, drapes around curves, and folds up small enough to slide under the sofa. Label each piece with a permanent marker: front bodice, back bodice, sleeve, and so on. Add grainlines, notches and the size. A shoebox of interfacing blocks takes up less space than a stack of magazines and means you can draft a new variation in ten minutes without hunting for the originals.
If you use PDF patterns, print only the size you need and stick the sheets together with a glue stick rather than tape—it lies flatter and folds more neatly. Store the assembled pattern in a clear plastic wallet inside the shoebox. The whole system lives on a shelf or in a drawer, ready when you are.
Cutting on a postage stamp
A standard kitchen table is roughly 90cm by 150cm. That's not huge, but it's enough if you work smart. First, cut single layers whenever possible. It feels slower, but you'll get more accurate results and you won't need to fold fabric in half, which eats up width. Second, use pattern weights instead of pins—they hold things steady without the faff, and you can stack them in a small tin. Third, invest in a rotary cutter and a self-healing mat that fits your table. You can cut curves and long straight lines without lifting the fabric, which is a godsend when space is tight.
For larger pieces, don't be afraid to use the floor. Lay a clean bedsheet down first, then your fabric, then your pattern. Kneel on a cushion and use a rotary cutter carefully. It's not glamorous, but it works. And if you have a hop-up stool or a small step ladder, you can use it as an extension table for the overhang.
Fitting without a dress form
A dress form is lovely, but it's not essential. You can fit on yourself with a bit of ingenuity. Start with a full-length mirror—even a cheap one propped against a door will do. Wear the toile (or the garment) inside out and pin along the seams. Use a phone on a tripod or propped on a shelf to take photos from the front, side and back. Photos don't lie, and they help you spot drag lines you might miss in the mirror.
If you need to pin the back, ask a friend or family member to help. A fifteen-minute pinning session over a cup of tea is worth its weight in gold. Alternatively, use a technique called 'tissue fitting'—pin the pattern pieces together roughly and hold them up against your body, then adjust the paper before you cut fabric. It's surprisingly accurate for simple shapes.
For trousers and skirts, try the 'sitting fit' test: sit down, cross your legs, climb a few stairs. If the toile pulls or twists, adjust the crotch curve or add a little more room. You don't need a mannequin for that.
Projects that forgive a fold-away setup
Not every project suits a small space. Save the complicated tailored jackets for when you have a dedicated week and a clear table. Instead, choose patterns that are forgiving: wrap dresses, elastic-waist trousers, simple A-line skirts, kimono-style tops, and anything with a loose fit. These require fewer fittings, less precise cutting and less space to lay out. Upcycling projects are also brilliant—a shirt refashion or a skirt made from a duvet cover can be cut on a tray table.
Knit fabrics are your friend. They don't fray, they don't need as many pins, and they drape around curves without endless toiles. A simple jersey top or a pair of leggings can be drafted and cut in an afternoon, and they'll fit beautifully if you use your master block.
Packing up and staying sane
Keep a 'sewing tray'—a large baking tray or a shallow basket—for your current project. Everything goes in it: pattern pieces, pins, scissors, thread, tape measure. When you need the table back, lift the tray onto a shelf. Nothing gets lost, and you can pick up where you left off. A magnetic pin dish is also a small miracle; it keeps pins contained and stops them rolling onto the floor.
Finally, accept that your workspace will never look like a sewing magazine. There will be fabric on the sofa and a stray thread on the carpet. That's the reality of making clothes in a real home. The point is not to have a perfect studio—it's to have a system that lets you draft, cut and fit without losing your mind. A shoebox of blocks, a rotary cutter, a mirror and a bit of patience will take you further than a dedicated room ever could.