The Calico Dress Rehearsal: Turning Your Toile Into a Trusted Fitting Tool

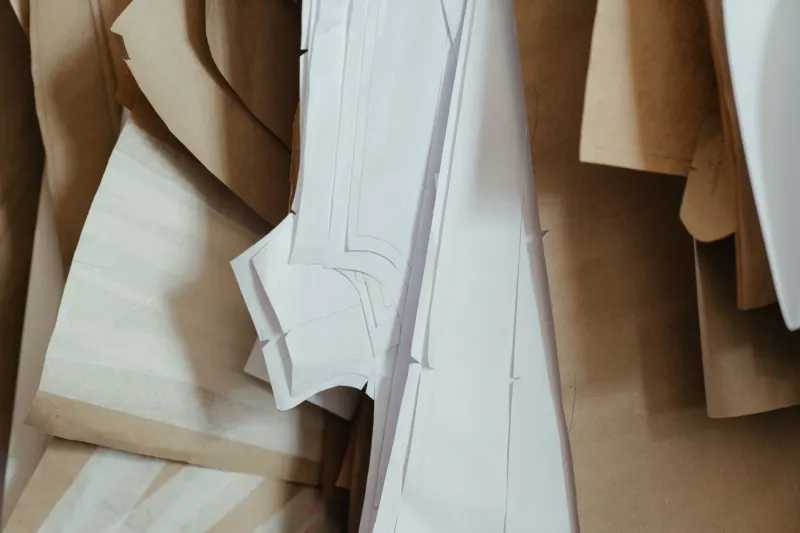
Photo: dressmaker marking calico toile with tailor's chalk on sewing table, via www.the-sun.com
Every dressmaker has done it: cut the good fabric, sew the seams, try it on, and discover the shoulder is doing something strange. The toile is meant to prevent that moment. Yet somehow it becomes the rushed bit — the calico afterthought sewn at 10pm the night before a fitting. This is a plea for the dress rehearsal. Treat your toile as a proper project and it will return the favour by saving the final garment.
The toile is not a chore; it is the first draft
Think of a toile as the first draft of a piece of writing. You would not send a first draft to print. You would read it, mark it up, move sentences around and check that the argument holds. A toile does the same job for a sewing pattern. It lets you see how a bespoke design behaves on your body, not on the illustration. It is where you find out that the bust dart sits too high, the shoulder seam slides backwards, or the seat needs a little more room when you sit down. None of that is failure. It is information.
The trouble is that many of us sew a toile in a hurry, with no markings, no seam allowances checked and no plan for what to look at. Then we blame the pattern when the final make feels off. A better approach is to give the toile a proper afternoon. Use a contrast thread. Press the seams. Mark the centre front and centre back. It does not need French seams or a hand-finished hem, but it does need to behave like a garment.
Calico or wearable toile? Choose by fabric behaviour
Calico is the traditional choice. It is stable, inexpensive and easy to mark. For a first bash at a new bodice, it is often perfect. But calico is not always the best stand-in for the final fabric. If you are making a drapey viscose dress or a coat in wool melton, a calico toile can lie to you. It will hold shape where the real cloth collapses, or feel stiff where the real cloth softens.
A wearable toile is a middle ground. You make the garment in a less precious fabric — a cotton poplin, a linen blend, a stable jersey — and you treat it as a test that might become a real piece. If it works, you wear it. If it does not, you have still learned the fit. Choose based on fabric behaviour, time and budget. For a special-occasion dress, consider a wearable toile in a similar weight to the final cloth. For a simple shirt or skirt, calico is usually enough.
Marking the truth at bust, shoulder and seat
At the bust, check the apex. The bust dart should point towards the fullest part, not above or below it. Use a coloured thread to mark the apex on the toile, then compare it with the pattern. If the dart is too high, lower it on the paper pattern and true the side seam. If the bodice pulls across the bust, you may need a full bust adjustment rather than simply sizing up.
At the shoulder, look at the slope. A shoulder seam that sits too far back or too far forward will drag the whole garment with it. Pin out the excess, mark where the seam wants to sit, and check the neckline. A narrow shoulder adjustment is often small but transformative. Do not forget to check the sleeve cap height if you are setting in a sleeve.
At the seat, sit down. Yes, actually sit. Stand, walk, climb a step if you can. A toile that looks neat standing still can feel tight across the hip when you move. Mark the seat curve and the hip line with tailor's chalk or a washable pen. Take photos from the side and back. Then transfer the changes to the paper pattern immediately, while the information is fresh.
Build a personal fitting checklist
A checklist stops you from relying on memory. Keep it short enough to use and specific enough to matter. Before cutting, check your measurements against the finished garment measurements, not just the size chart. Note the seam allowance. On the toile, pin out excess in small amounts, mark the changes in one colour and write down what you did. After fitting, alter the paper pattern, walk the seams and make a second toile only if the changes are significant.
Your checklist might include: bust apex position, shoulder slope, neckline gaping, armhole depth, sleeve cap ease, waist position, hip room, seat curve, garment length. Add anything that has caught you out before. Keep a small notebook with the date, the pattern name and the adjustments made. Over time it becomes a personal fitting archive.
Transferring adjustments without losing the plot
Mark the toile in one colour, then use another colour on the pattern. Measure the amount you pinned out rather than guessing. If you lowered a bust dart by 2cm, write 2cm on the pattern. If you added 1.5cm at the hip, add it to the side seam and blend the curve. Walk the seams with a ruler or curve to make sure the front and back still match. A fitting is only useful if it survives the journey back to the paper pattern.
When to stop toiling
You will know. The toile should let you raise your arms, sit, breathe and eat lunch. It does not need to be perfect. It needs to tell you the truth about the fit. Once it has done that, move on to the good fabric with a bit more confidence. The final garment will thank you.